© NinoSec
| All Rights Reserved
NinoSec
| All Rights Reserved
Portfolio Website
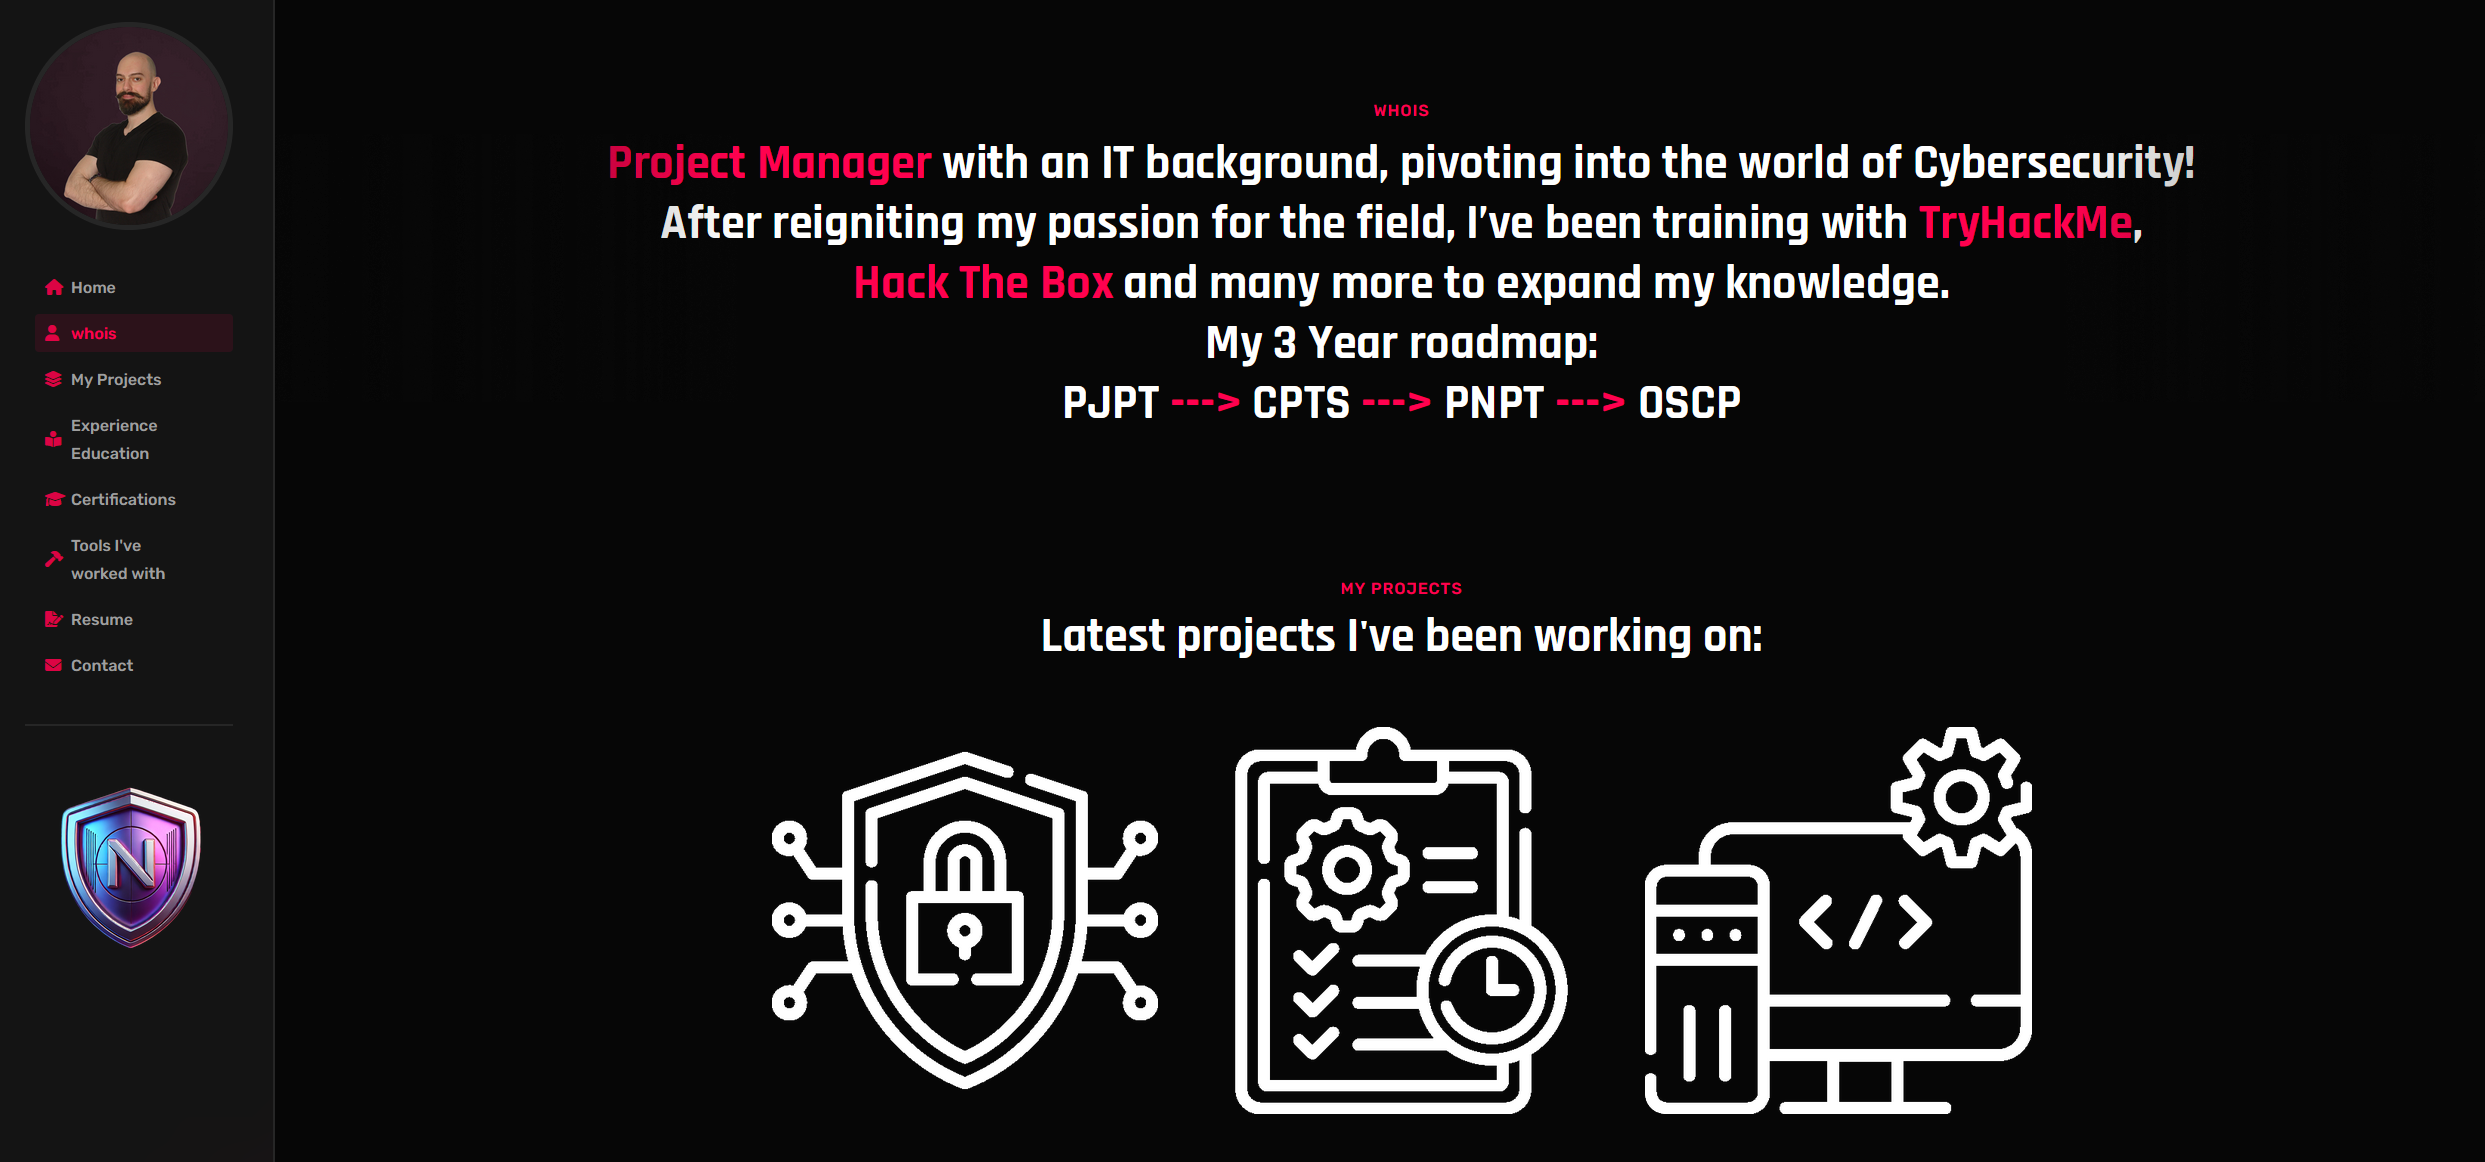
Building My Cybersecurity Portfolio Website: From Domain to Deployment
Creating a personal website to showcase my cybersecurity portfolio was an exciting and rewarding journey. It all started with a simple idea: to build a centralized platform where I could highlight my skills, share my projects, and connect with others in the industry. Here’s a behind-the-scenes look at how I brought this vision to life.
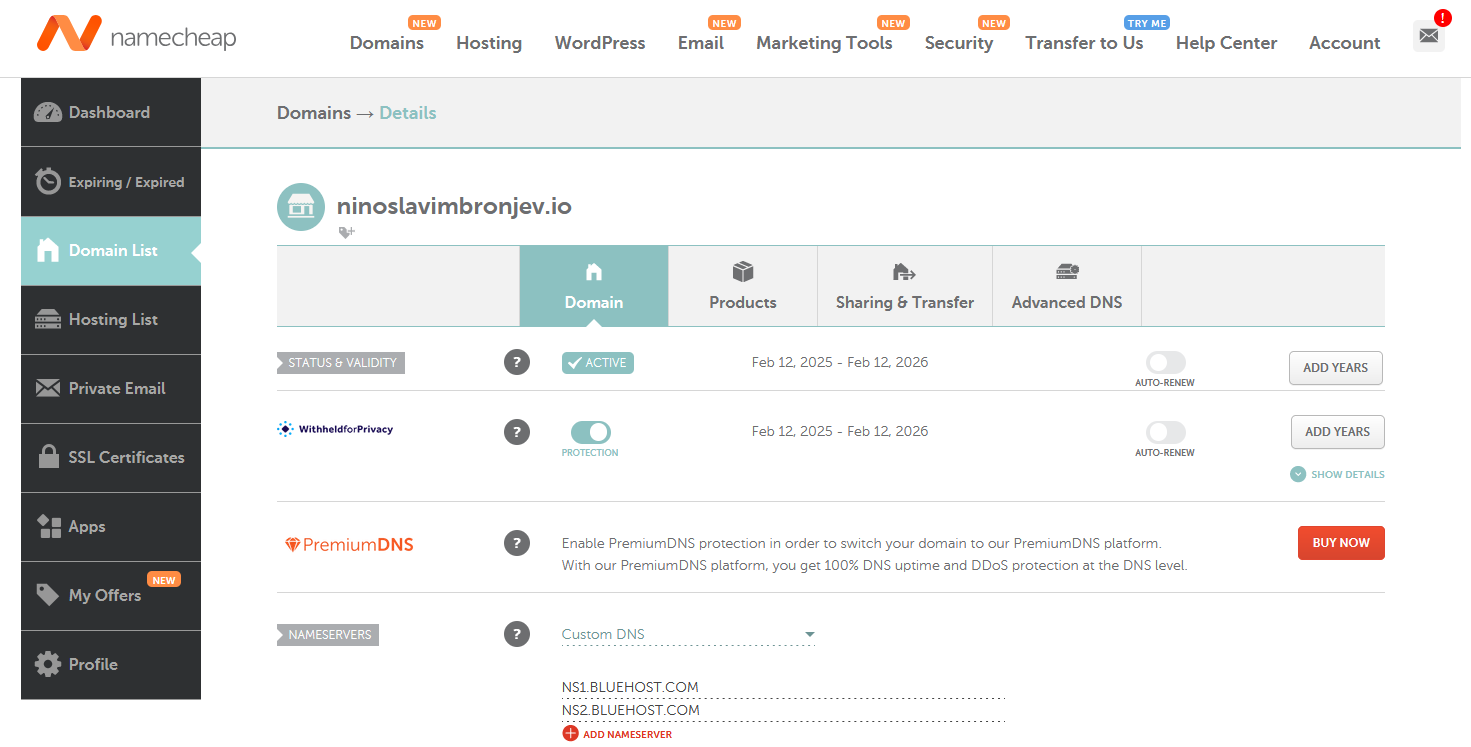
Step 1: Buying a Domain on Namecheap
Every website needs a home, and that home starts with a domain name. I chose Namecheap for its affordability and user-friendly interface.
After brainstorming a few ideas, I settled on a domain name that reflected my personal brand and was easy to remember. With the domain secured, I was ready to move on to the next step.
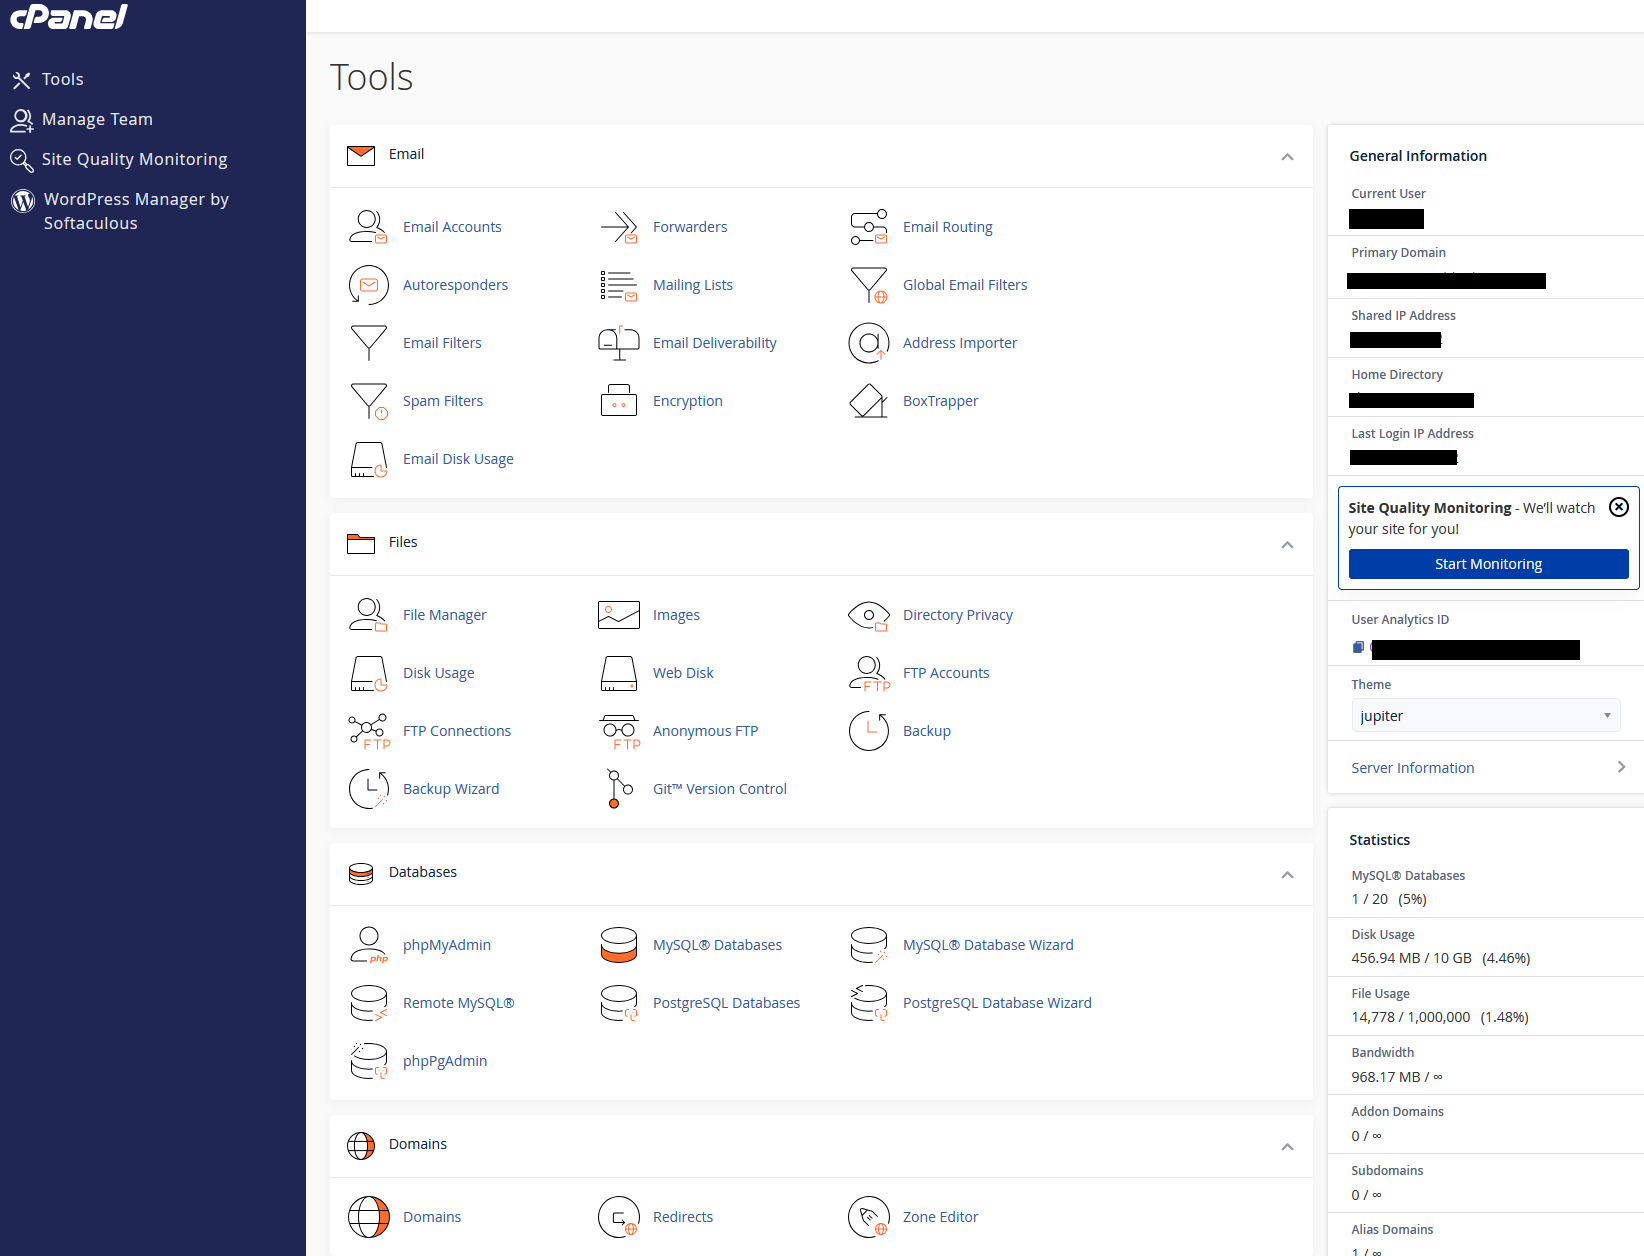
Step 2: Setting Up Hosting with Bluehost
With the domain in hand, I needed a reliable hosting provider to serve my website. Since I decided to build my website using custom HTML, CSS, and JavaScript instead of relying on a CMS like WordPress, I needed a hosting solution that gave me full control over my files.
Bluehost’s intuitive file management system and FTP access made it easy to upload and organize my code. I created a clean directory structure for my HTML, CSS, and JavaScript files, ensuring everything was in place for a smooth deployment
Step 3: Enabling SSL for Security
As a cybersecurity enthusiast, I couldn’t overlook the importance of securing my website. I enabled SSL (Secure Sockets Layer) to encrypt data between the server and visitors’ browsers. This not only protects sensitive information but also boosts trust and credibility.
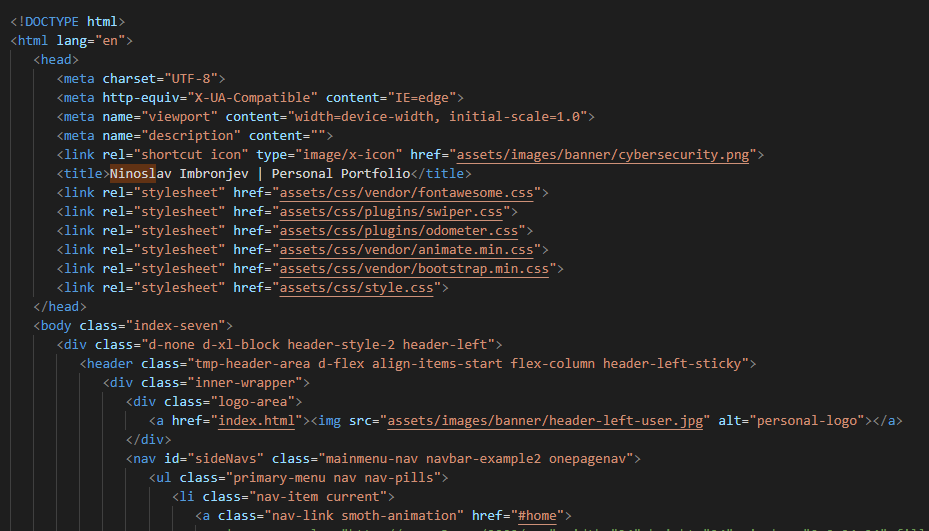
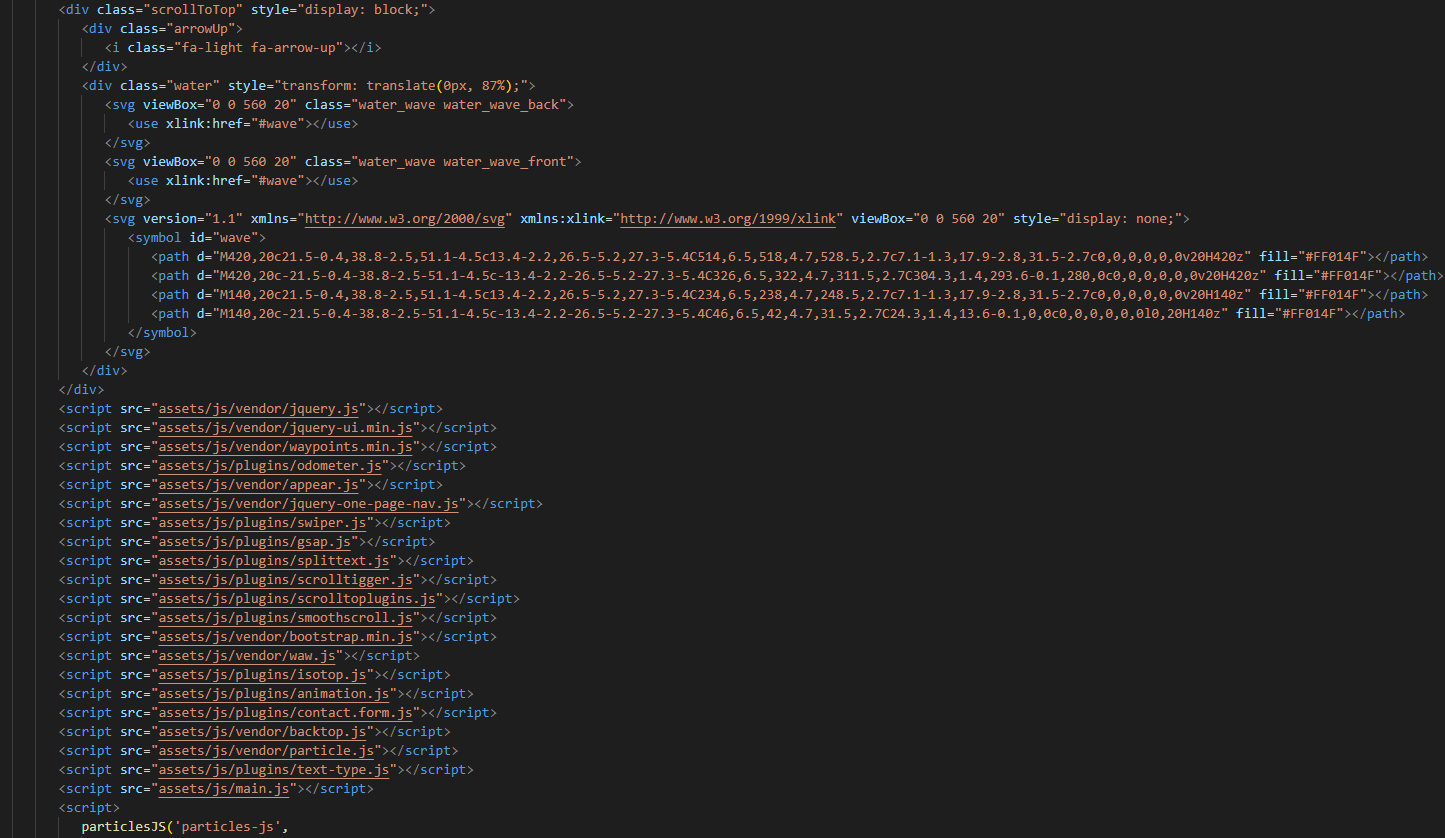
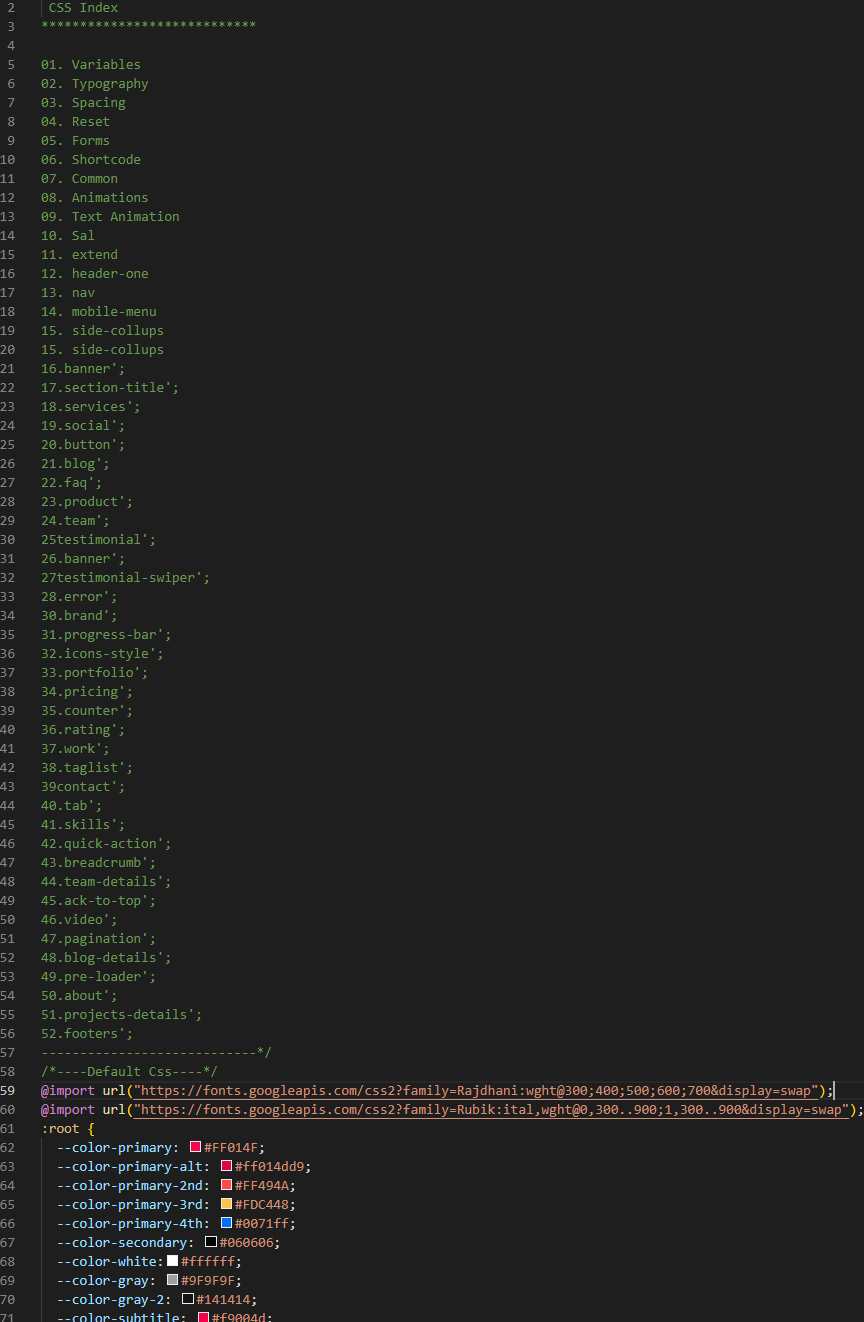
Step 4: Coding the Website in HTML, CSS, and JavaScript
While I could have used a pre-built WordPress theme, I wanted full control over the design and functionality of my portfolio. I decided to code the website using HTML, CSS, and JavaScript. This allowed me to create a clean, responsive, and visually appealing design.
HTML: Structured the content and layout of the site.
CSS: Styled the website to ensure it was visually consistent and modern.
JavaScript: Added interactivity, such as dynamic project showcases and smooth scrolling effects.
Step 5: Connecting Everything Together
The final step was to bring all the pieces together. I uploaded my HTML, CSS, and JavaScript files to Bluehost, ensuring everything was in the right place.
I then configured the domain settings to point to my hosting server, tested the site for responsiveness and performance, and made sure all links and features were working as intended.
×
![]()